Autonomous Flip Fluid Simulation Platform
FlipFluids Simulation & Animation
I called this project Flip Fluid Simulator because, as the name suggests, it’s a test of the FlipFluids premium addon for Blender. To give the scene some soul and character, I modeled a platform, cables, and a few extra details. I went through all their tutorials and manuals to really get into the addon’s ins and outs, and tested features like CLS rendering, Alembic export, simulation tools, mesh optimizations, and the whitewater generator (bubbles, foam, and spray).
The final fluid bake ran at a resolution of about 350, and rendering all the EXR frames… I don’t even want to say how long.
Flip Fluids runs far more stably and faster than Blender’s vanilla solver. It comes with automatic smoothing modifiers, intuitive whitewater controls, and all the shortcuts you actually need. The feature I find most useful is being able to stop a bake at any time without Blender freezing or crashing, plus the viewport optimizations are a huge relief.
For this simulation, I used a simple curved path as a force object to guide the liquid upward. The obstacle was created by duplicating all the objects, combining them, remeshing, and making the mesh manifold before using it as the collider. After that came the usual process—shading, materials, and lighting the scene. Nothing too complicated to set up, but definitely tricky to make it look good.
After that, I exported the EXR multilayer sequence in Davinci for post-production, video, and sound editing.
Multi-pass EXR workflow
Each pass—diffuse, specular, shadows, reflections, emission—was stored in one EXR sequence, which let me adjust them independently inside DaVinci Resolve’s Fusion. That meant I could fine‑tune highlights, balance reflections, or tone down emission without going back to Blender to re‑render. Since EXR is high‑dynamic‑range, I also preserved detail in both highlights and shadows, giving me more freedom in grading and compositing.
This workflow is not just convenient—it’s the industry standard for professional compositing, and for good reason. It saves the hassle of endless re‑renders for small changes and gives me the flexibility to polish every layer until it feels exactly right. Beyond the technical benefits, it also gave me creative confidence: I could experiment freely with color, contrast, and mood, knowing I had full control over every element.
That freedom to iterate quickly without breaking the render pipeline is what makes this approach so powerful, and why I’ll continue to rely on it for future projects.
LightMix – Light group compositing
For this project I also worked with light group passes, which gave me the same kind of flexibility as the multi‑pass EXR workflow but applied directly to lighting. The idea is to pre‑plan what could end up being a problem in post and separate that light into its own group.
In my case, I isolated the screen light because I knew it would need adjustment later. By rendering it as a dedicated pass, I could fine‑tune its intensity, color, and falloff inside DaVinci Resolve’s Fusion without touching the rest of the scene.
This approach is part of the industry standard for compositing, and it saves a huge amount of hassle. Instead of re‑rendering the entire animation just to tweak one light, I had the freedom to rebalance it instantly in post.
It also gave me creative confidence: I could experiment with different moods, push the screen glow harder, or tone it down depending on the look I wanted, all without breaking the render pipeline.
Light groups essentially turn every key light into its own controllable layer, and that level of control is what makes the final composite feel polished and intentional.
Animation – Platform, Lights, Fluid Simulation
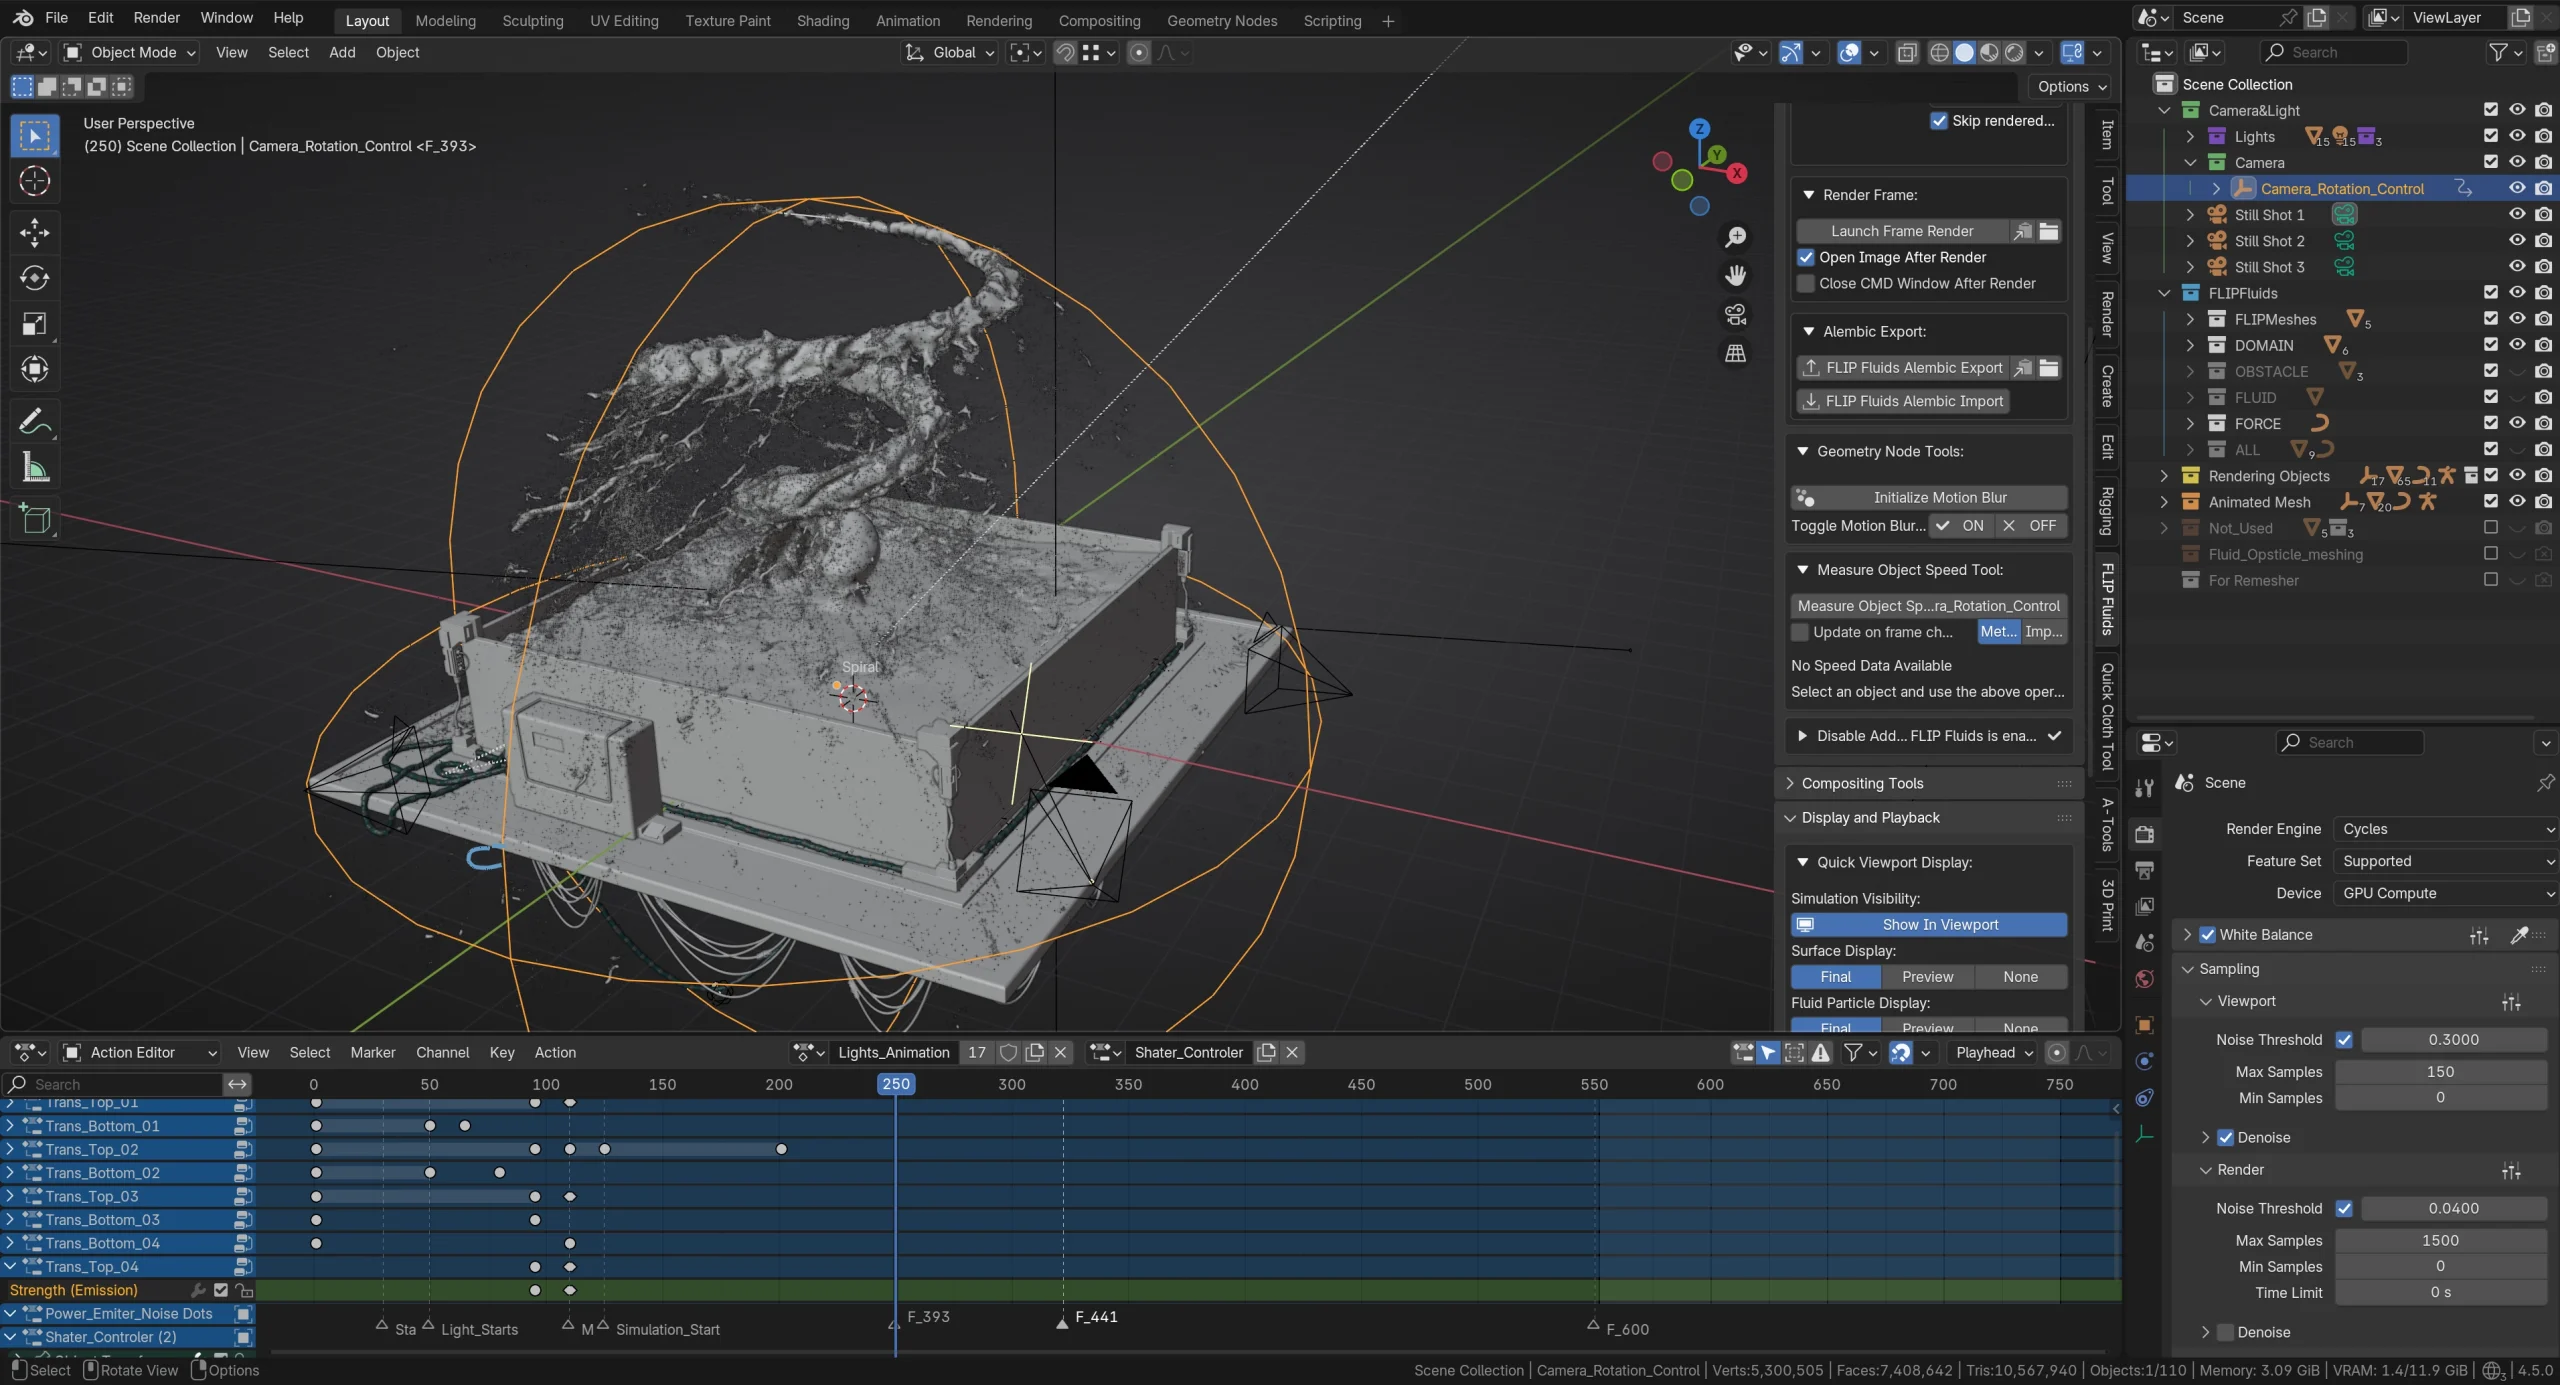
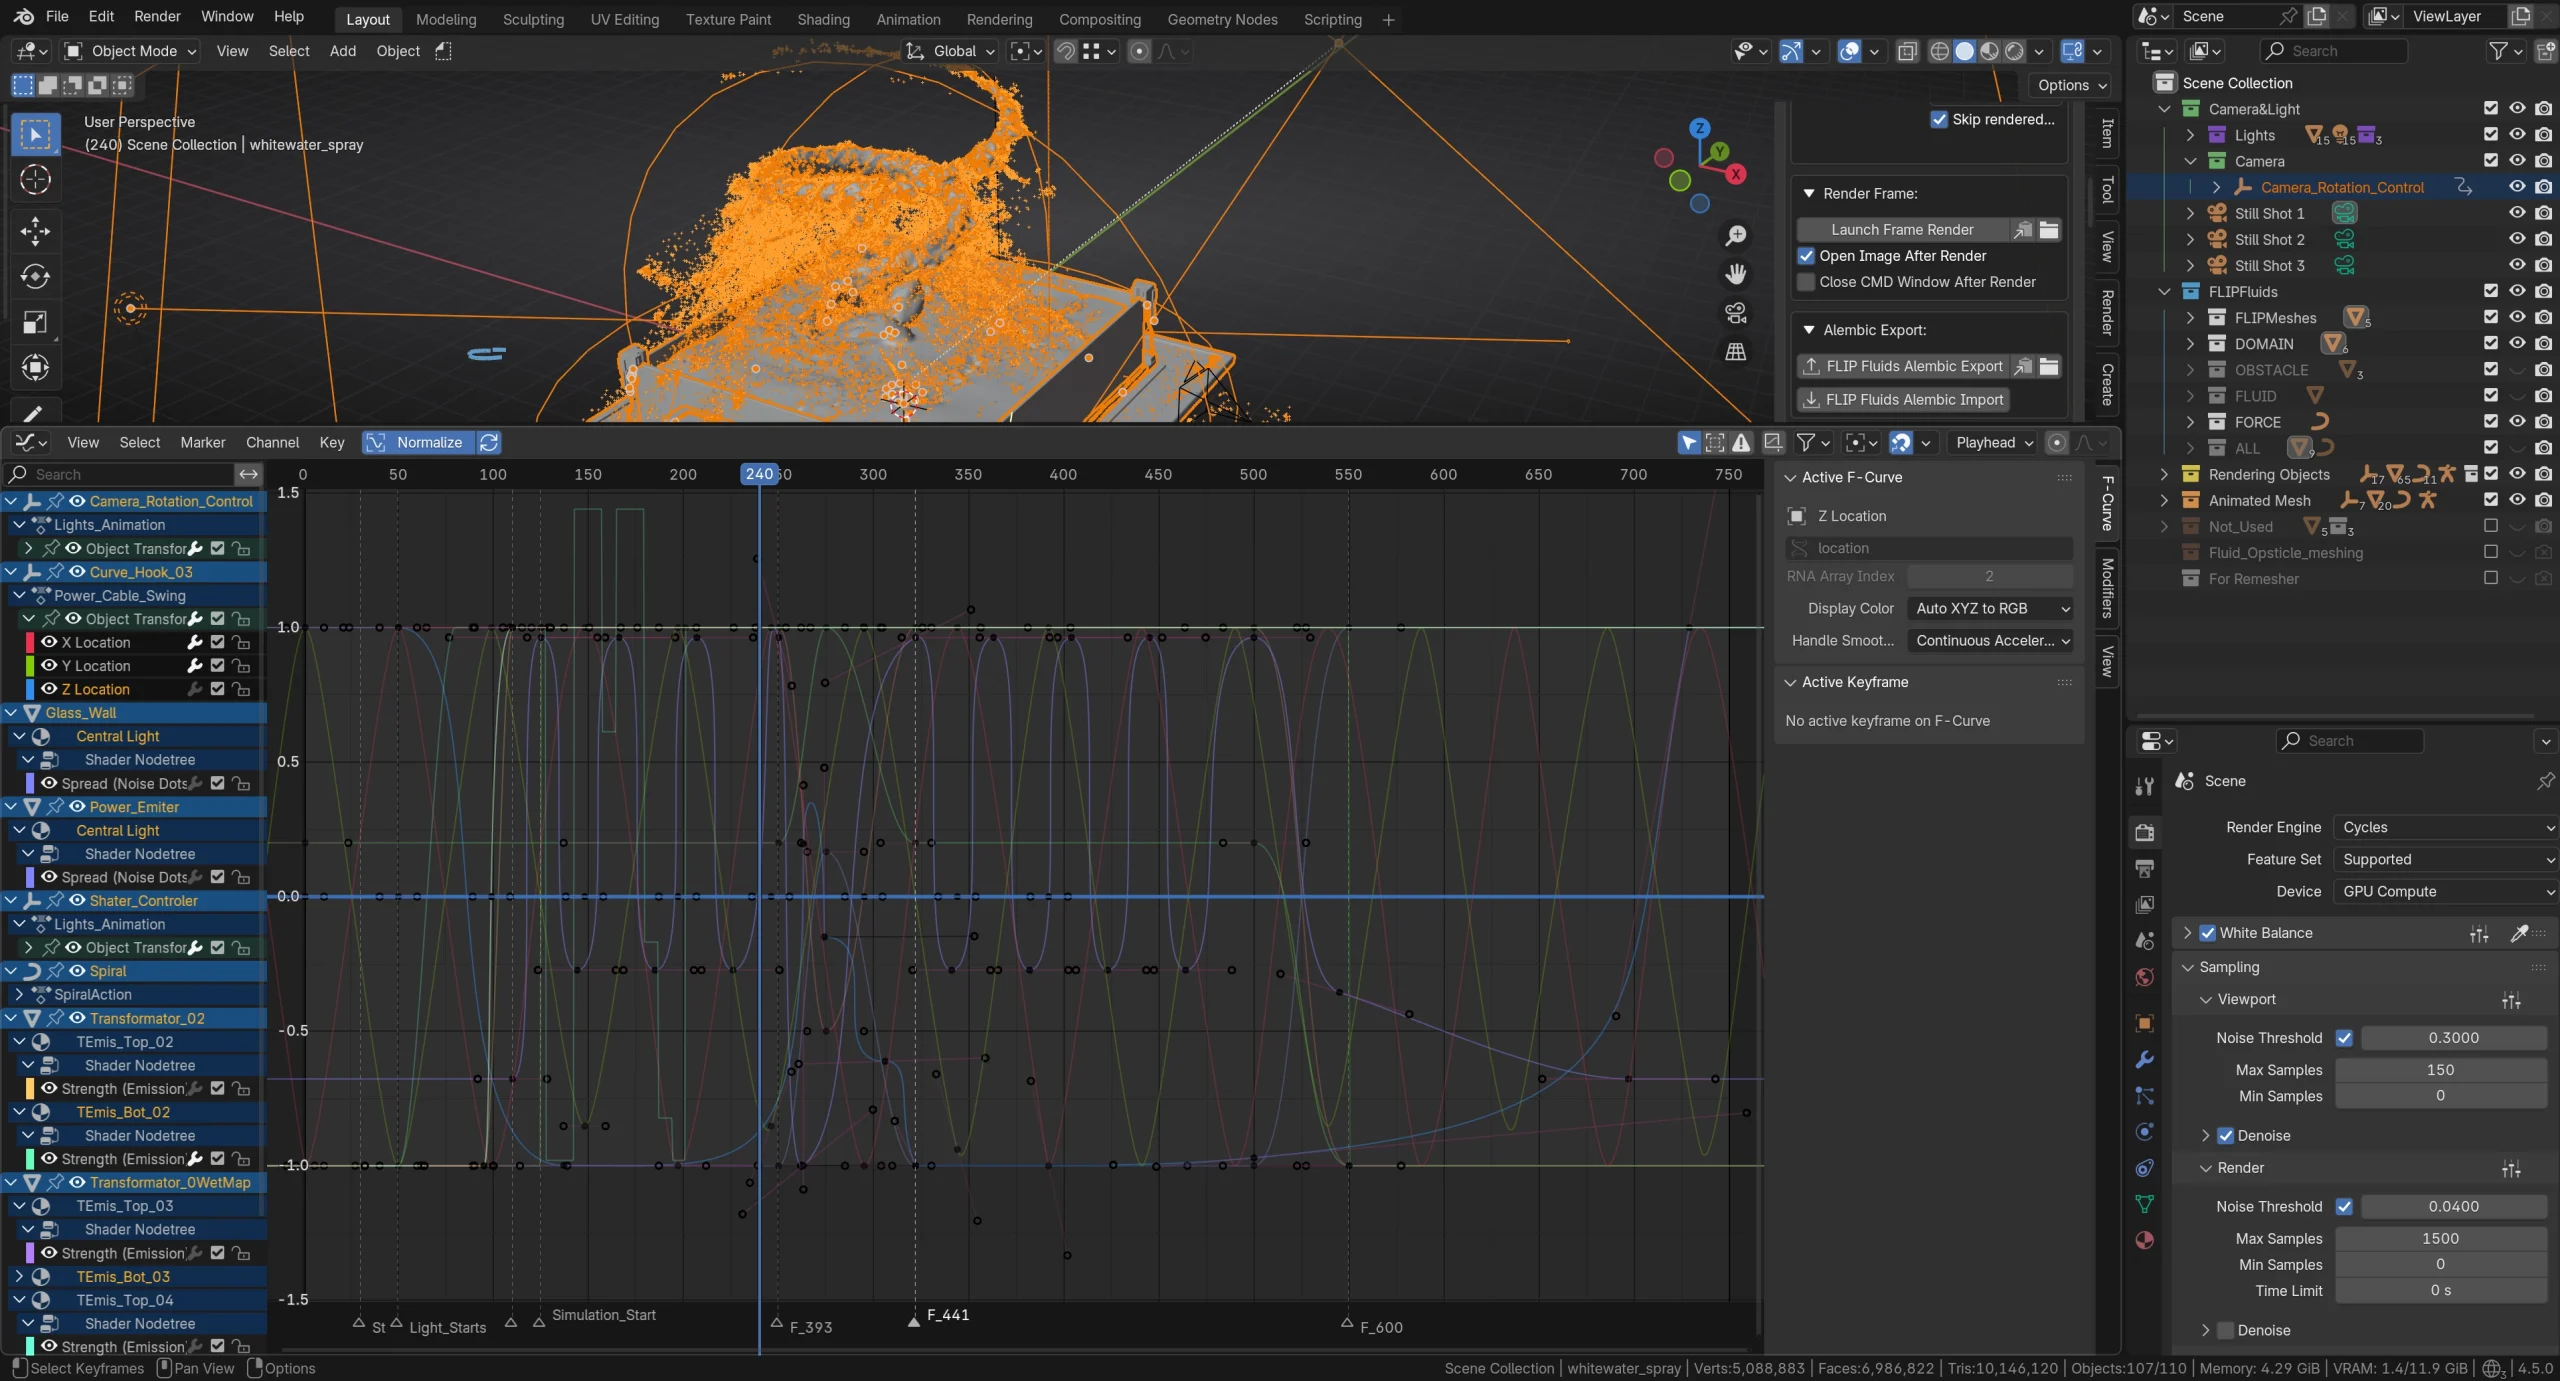
Almost every part, or mesh, is animated in this project. Light’s blinking as the simulator is powering, the little screen plays an animation, and the power source has its own shader animation that is mainly based on Voronoi texture.
The fluid force, curve object is also animated, or rather, its values increase or decrease in tandem with the machine powering on and switching off. That is what produces those awesome waves.
There are also animations that you don’t see at first glance but are in the periphery and increase visual experience to a large extent, like cable swerling in the “wind” or the whole platform rotating slowly by a few degrees on the Z axis.
Materials, Shading & Lighting the scene
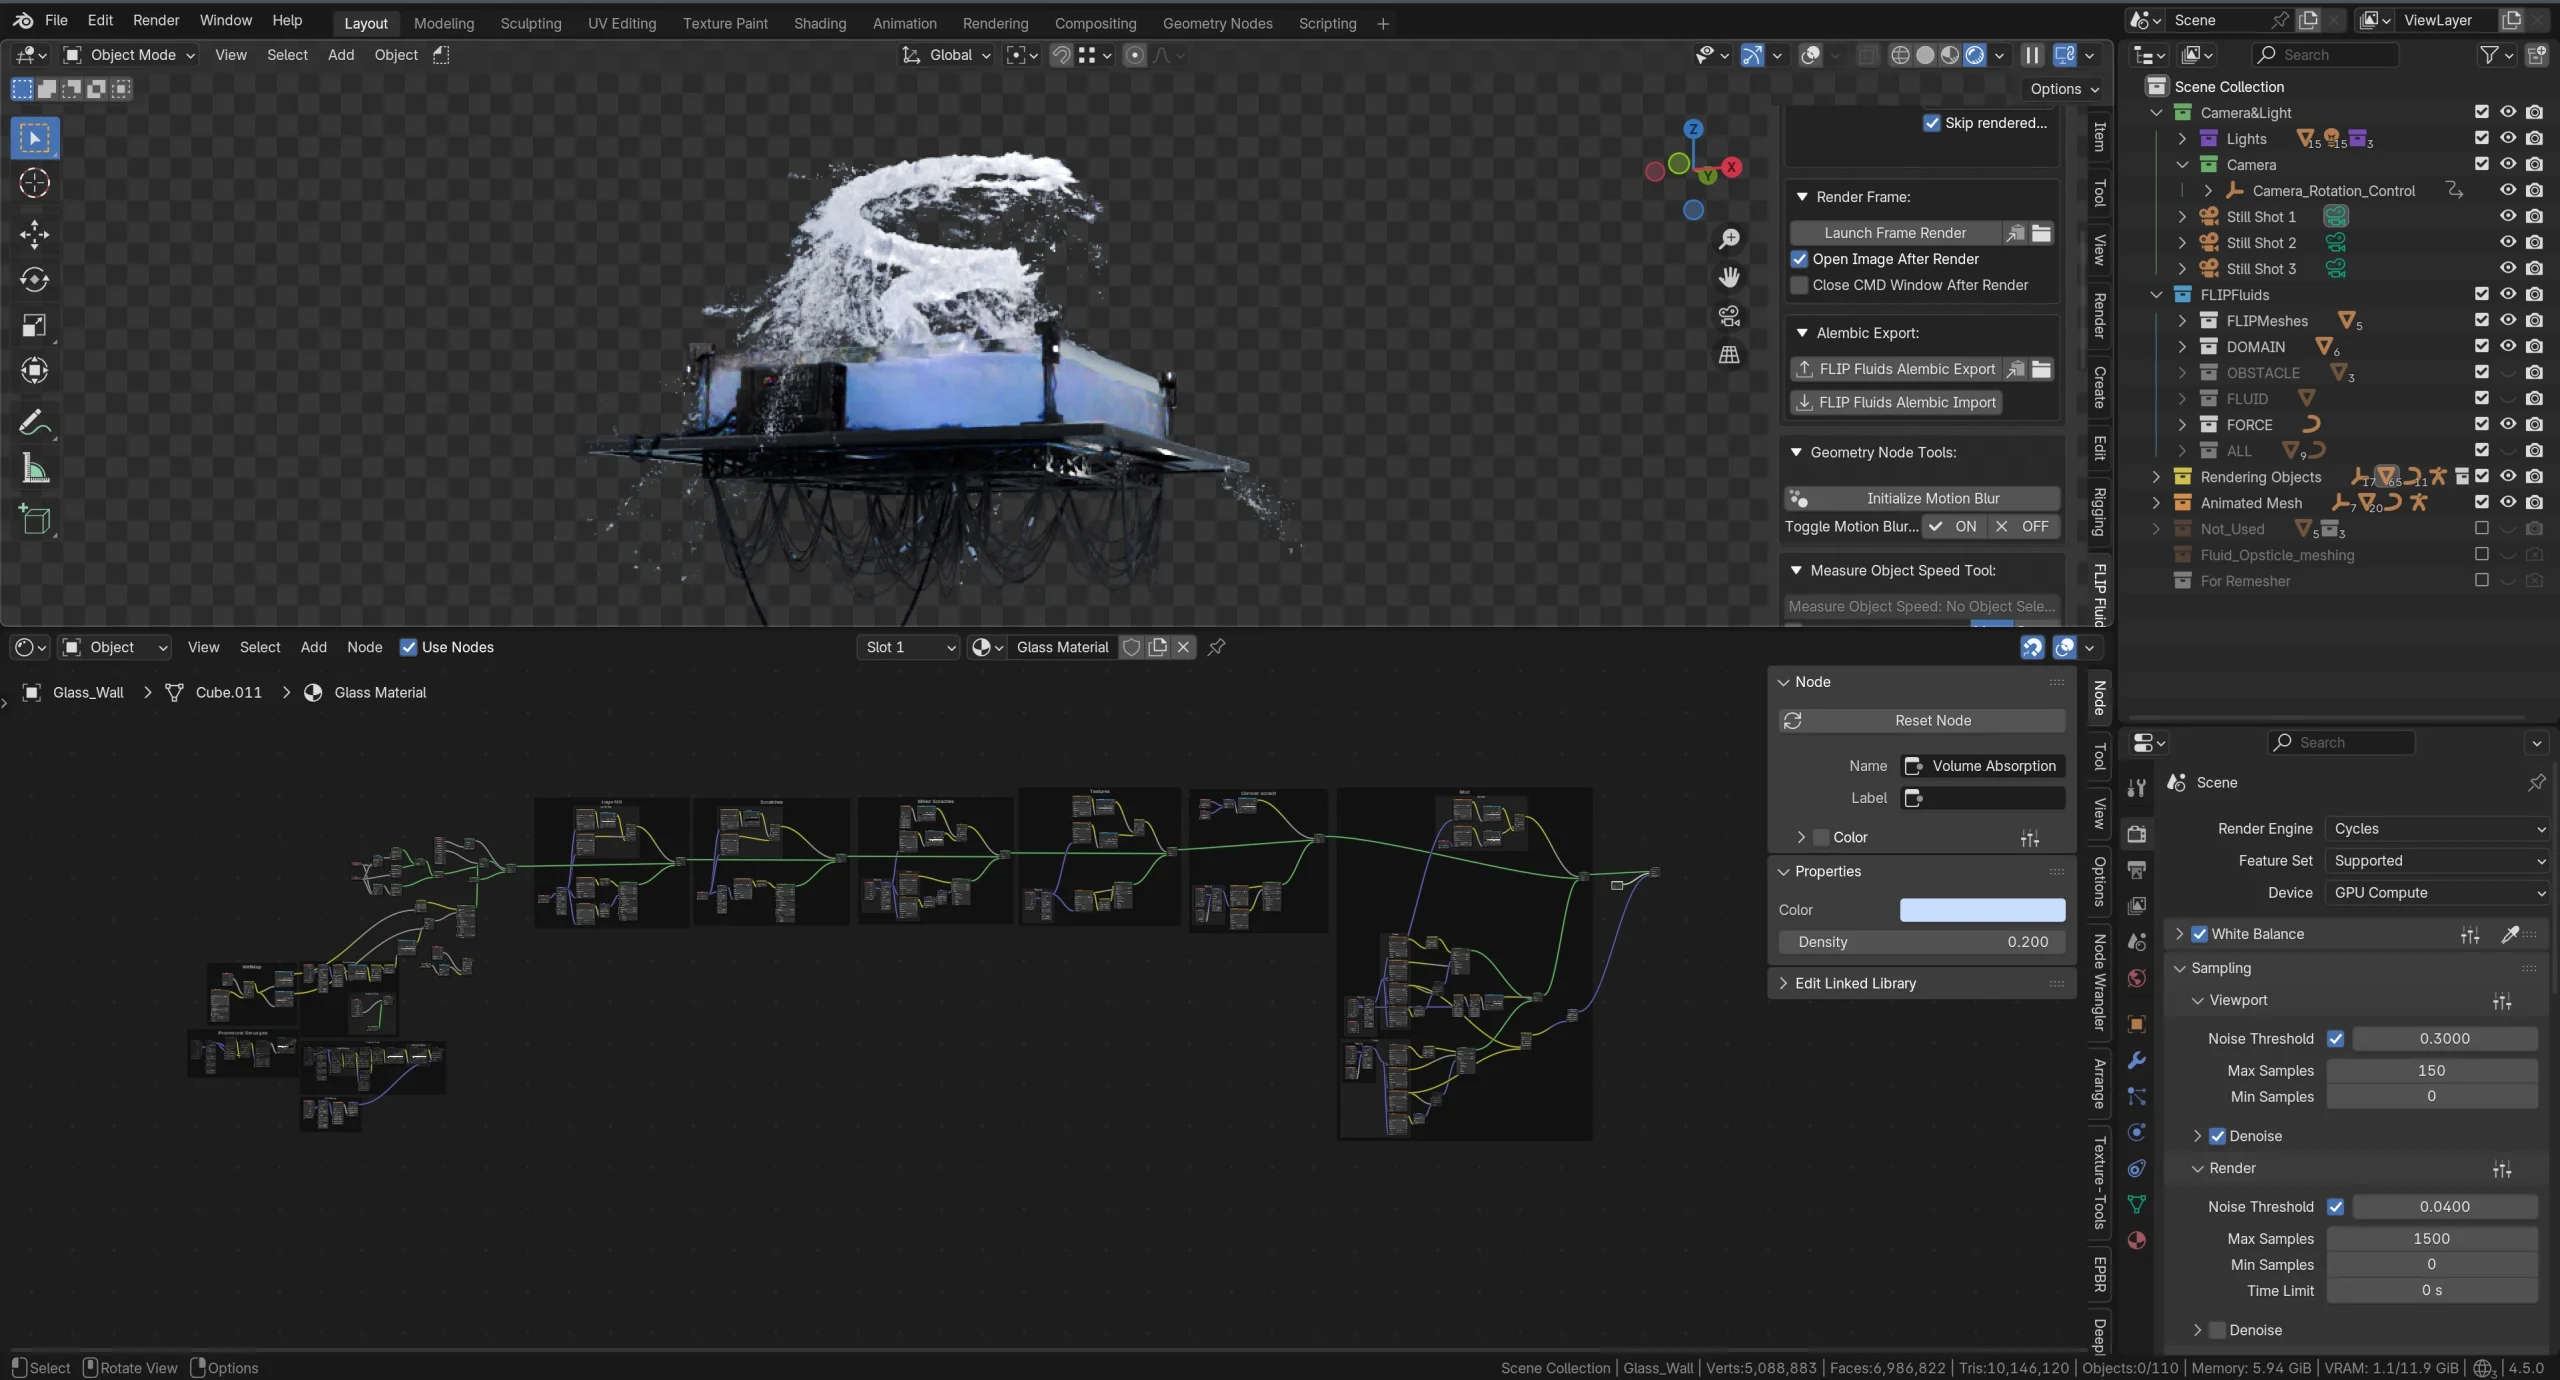
The materials were built with complexity and imperfections in mind—scratches, uneven roughness, and subtle variations that break uniformity and add realism. Wet maps and layered masks helped sell the interaction between liquid and surfaces, darkening areas and catching highlights naturally.
This is one of those “last 10%” details that turns into 50% of the work. Shading here wasn’t just about textures but about layering information—procedural and image‑based maps, Fresnel effects, and micro‑surface detail all working together. In the end, the materials didn’t just support realism, they guided the eye and gave the scene its final sense of believability.
Masks, texture & Images

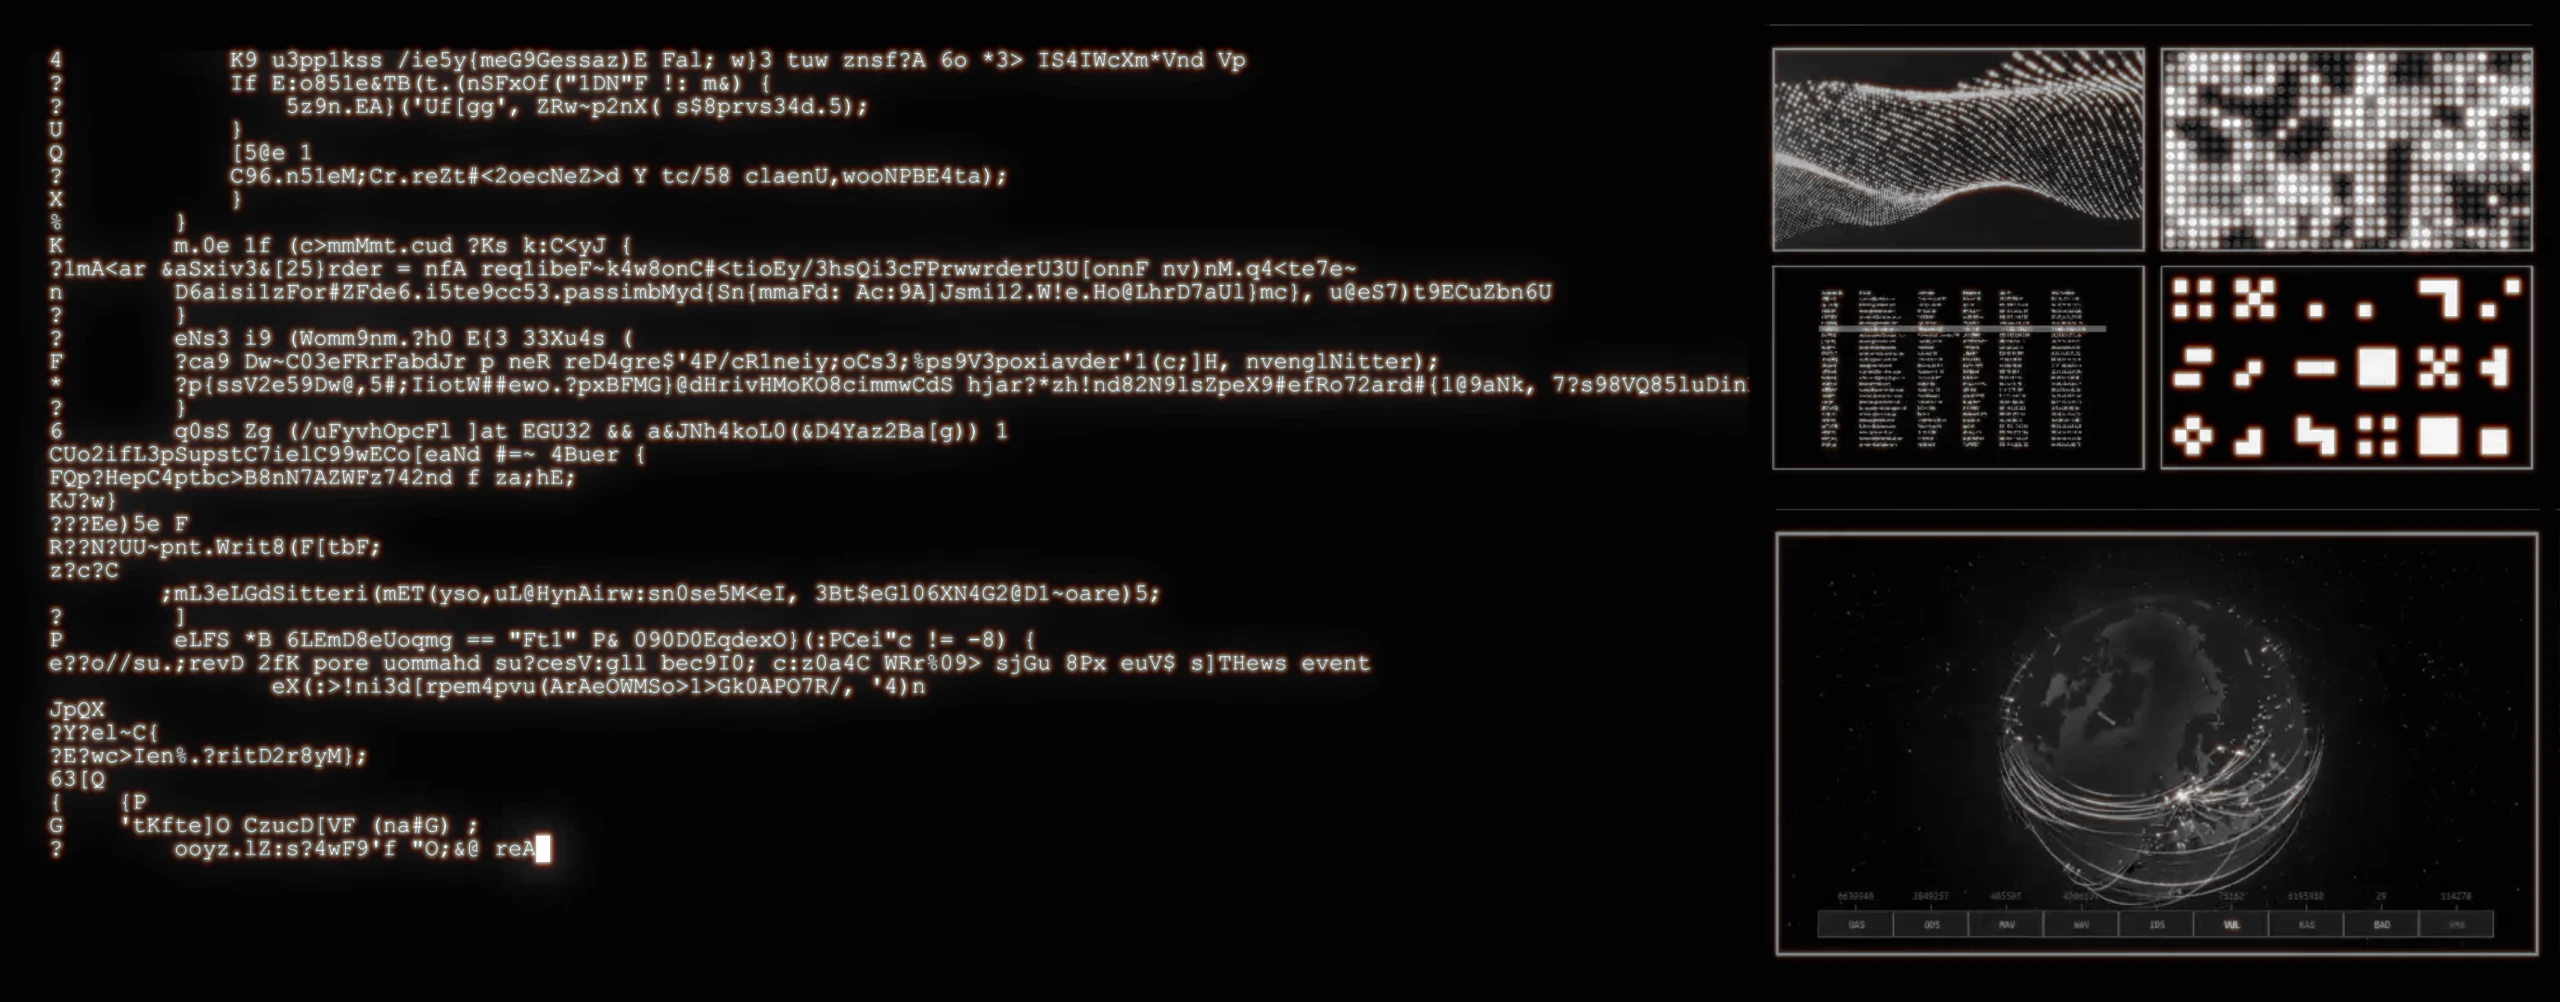
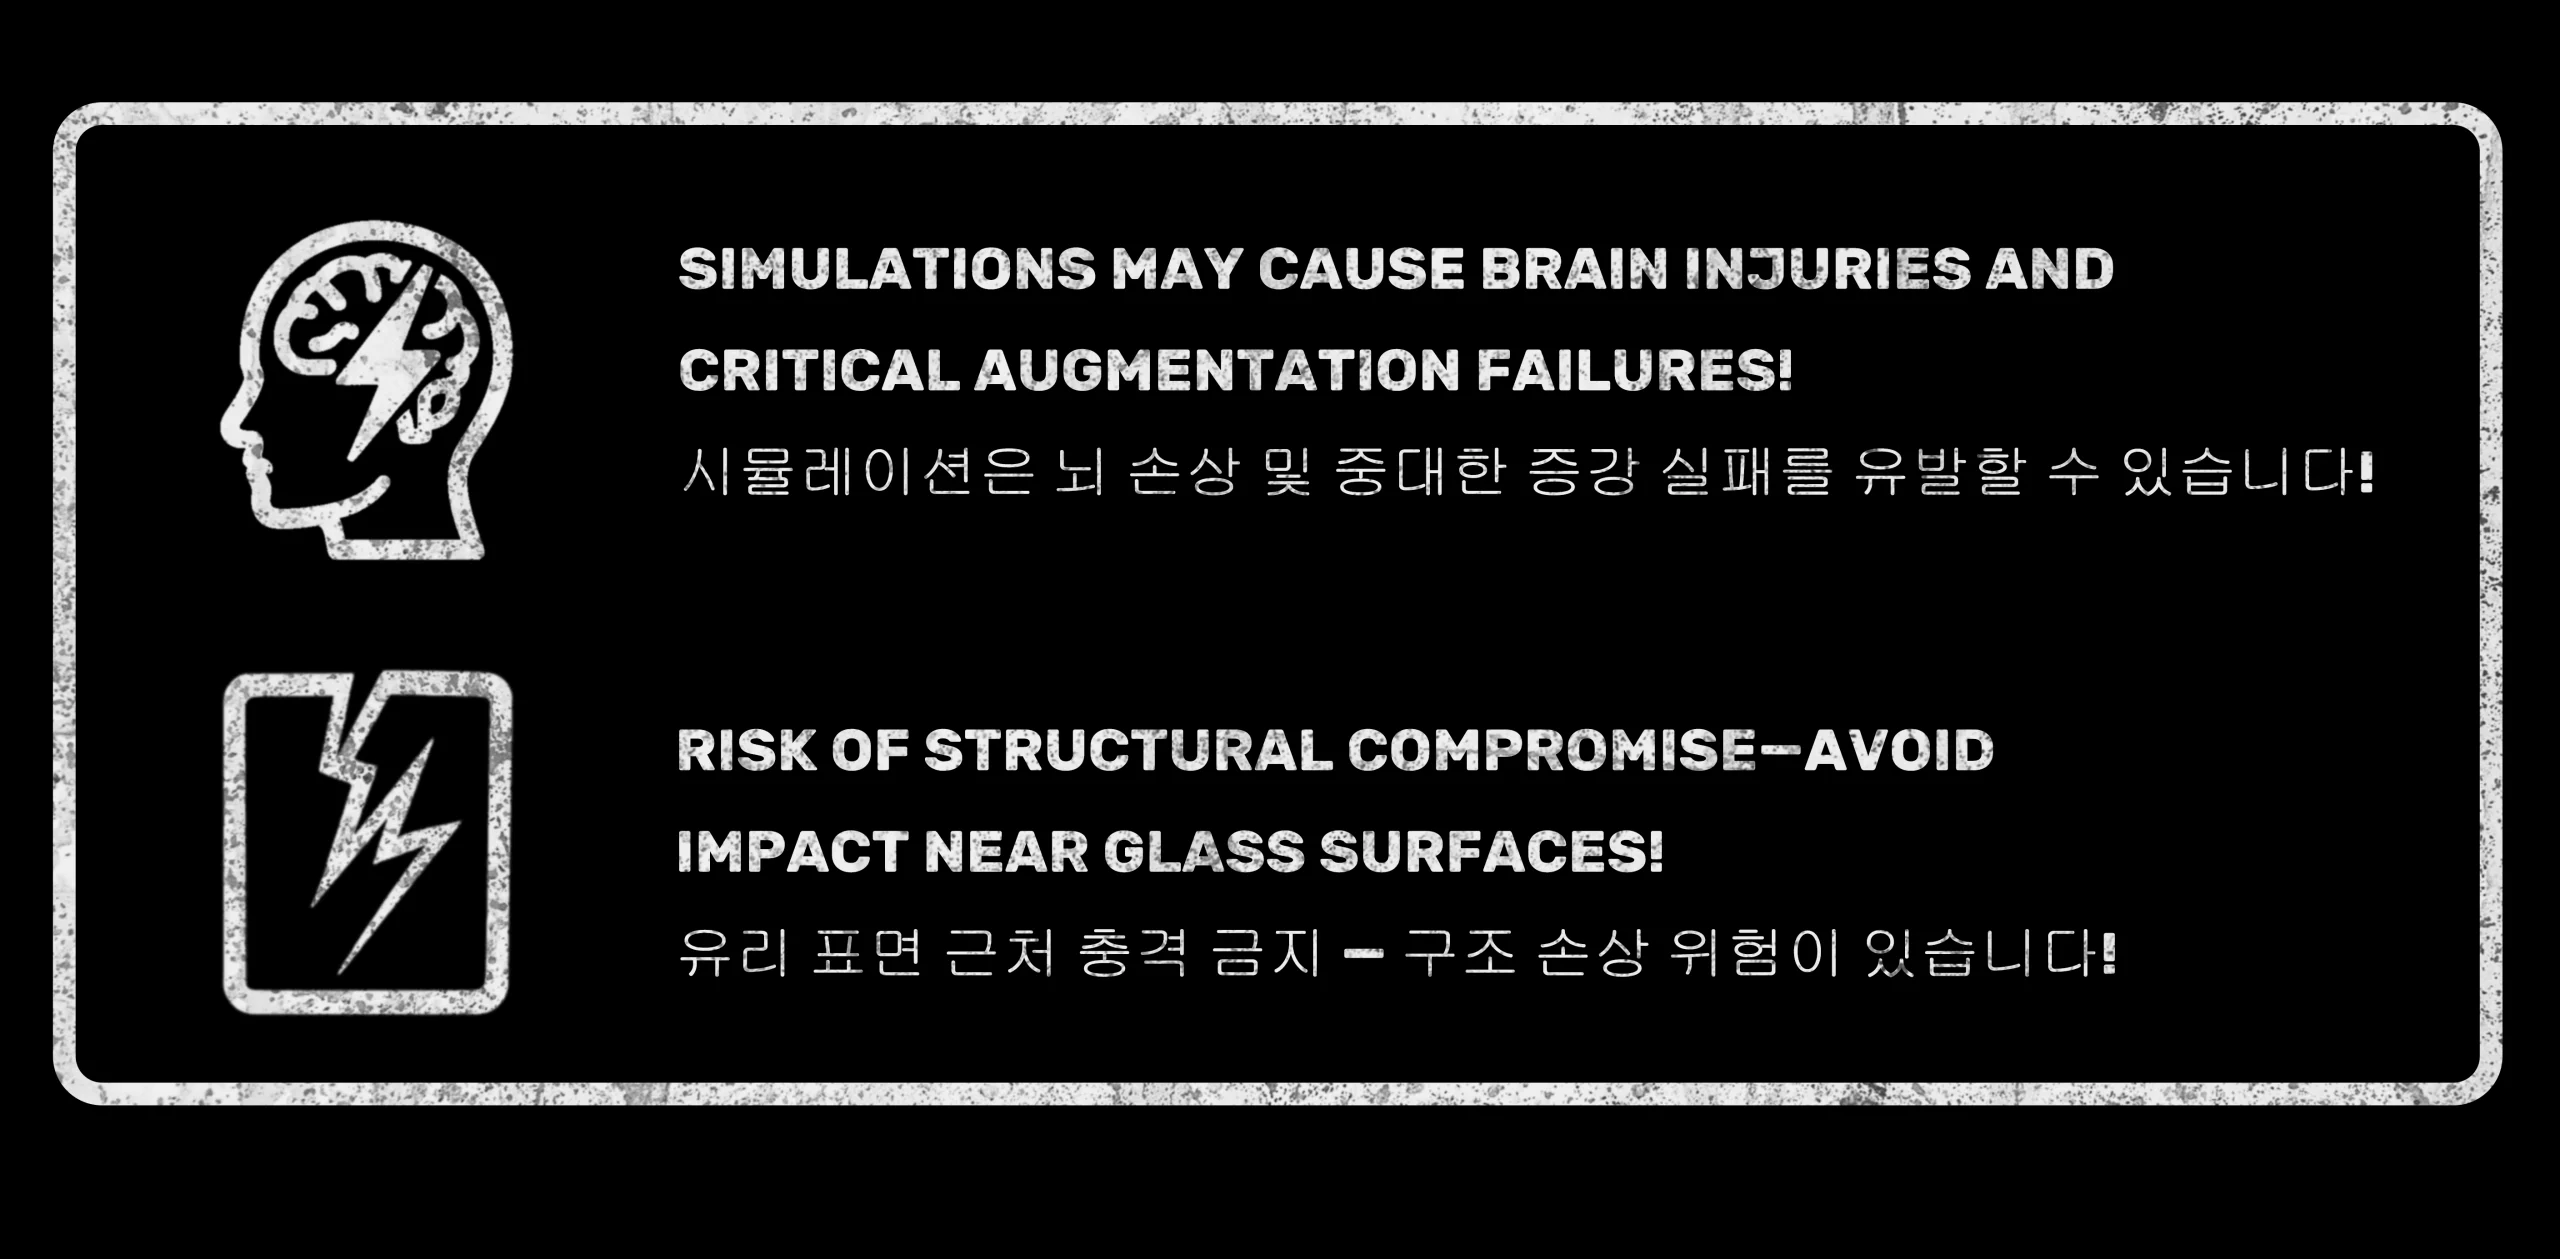
All of the images and 2D textures for this project were created entirely by me, from scratch. I built the texture maps through a mix of procedural setups and hand‑painted details, layering imperfections, masks, and variations to avoid anything looking flat or generic.
Every graphic element, from the warning labels to the interface visuals, was designed and composited by hand, giving the project a consistent style and a personal touch that ties the 3D simulation and 2D presentation together.
Post-production in Fusion
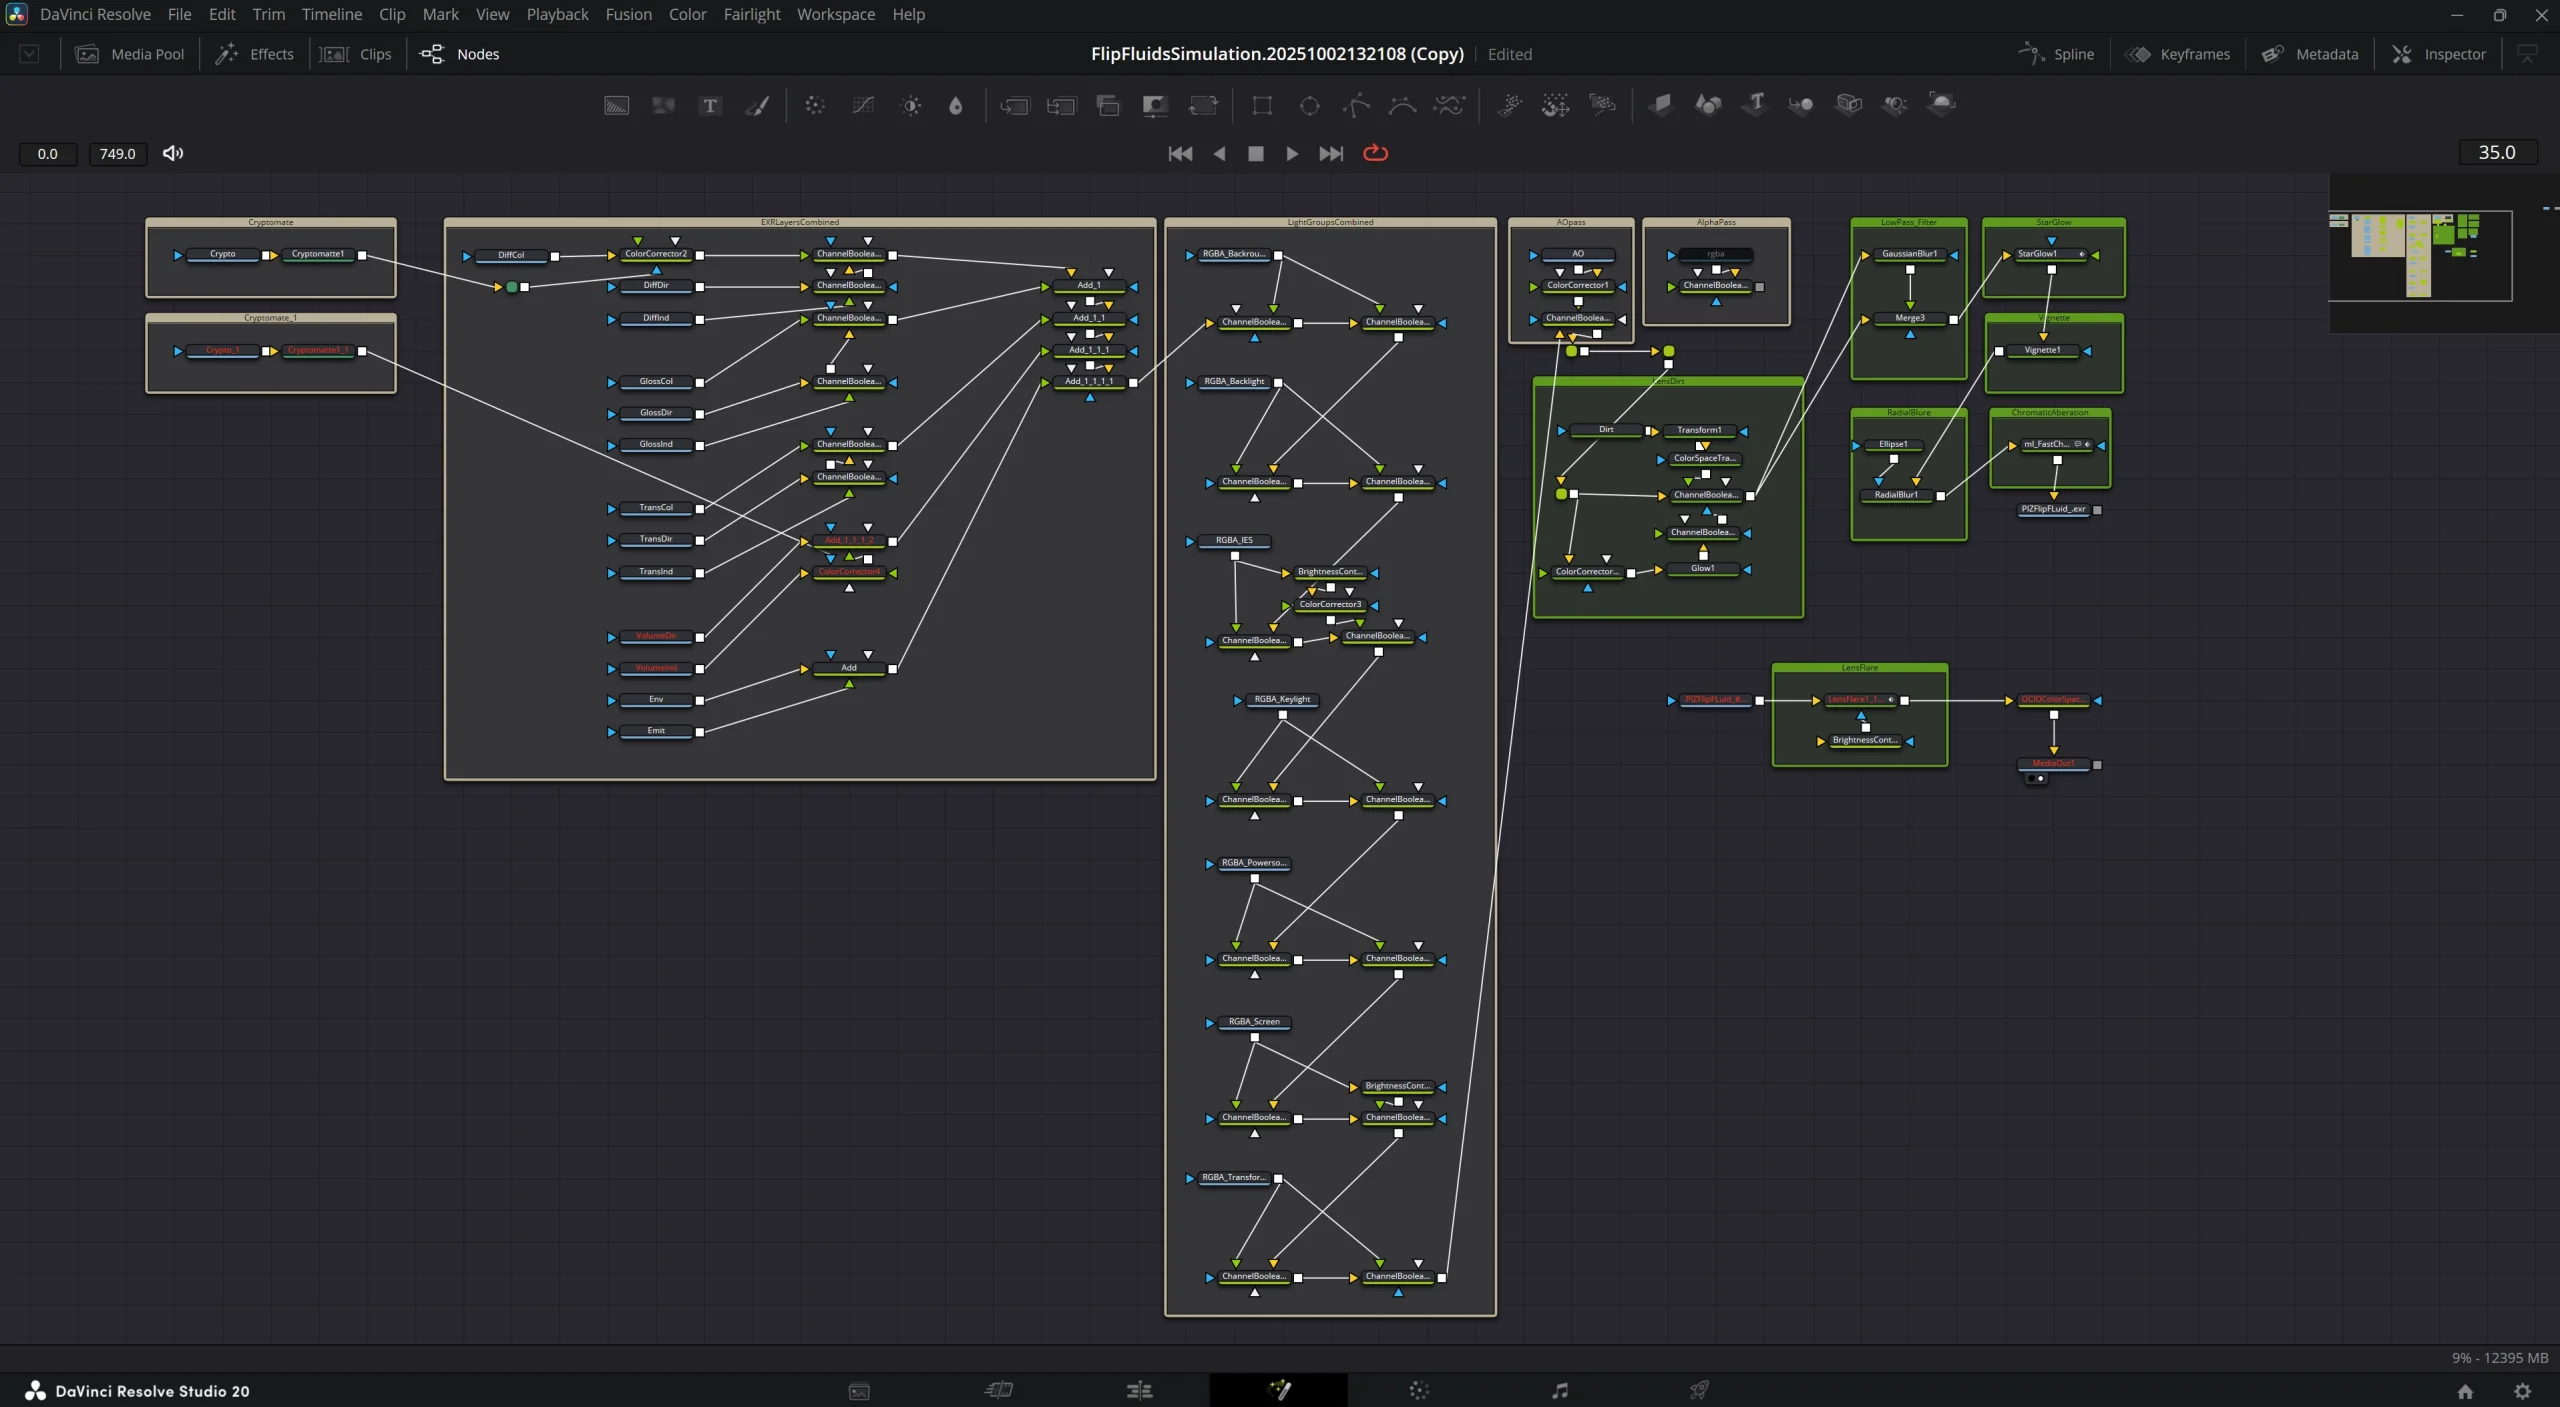
In post‑production I imported the EXR multilayer sequence directly into DaVinci Resolve’s Fusion, making sure to set the viewport to the correct OCIO color profile so the passes displayed accurately. From there, the first step was reconnecting all the rendered layers—diffuse, specular, reflections, emission—using Cryptomatte for precise masking and the AO pass to ground the scene with subtle contact shadows.
I also worked with light groups, which many people claim can’t be combined with layered EXRs, but it’s absolutely possible. The trick is to first subtract the light contribution with a Boolean (BOL) node and then add it back in as a separate layer. This gave me full control to rebalance or recolor lights in post without re‑rendering, which was especially useful for the screen glow and IES point lights.
Once the core passes and lights were rebuilt, I moved into the finishing stage: adding camera imperfections like lens dirt, soft glow, and halation to give the render a more photographic feel. All of this was funneled into a Saver node and then re‑routed through a Loader node for the final pipeline.
The last step was in the Color tab, where I applied temporal denoising to fix subtle light flicker caused by the IES point lights. That combination—layered EXRs, light group control, and post‑production polish—made the workflow both flexible and production‑ready, while avoiding the endless cycle of re‑renders.
Sound Design
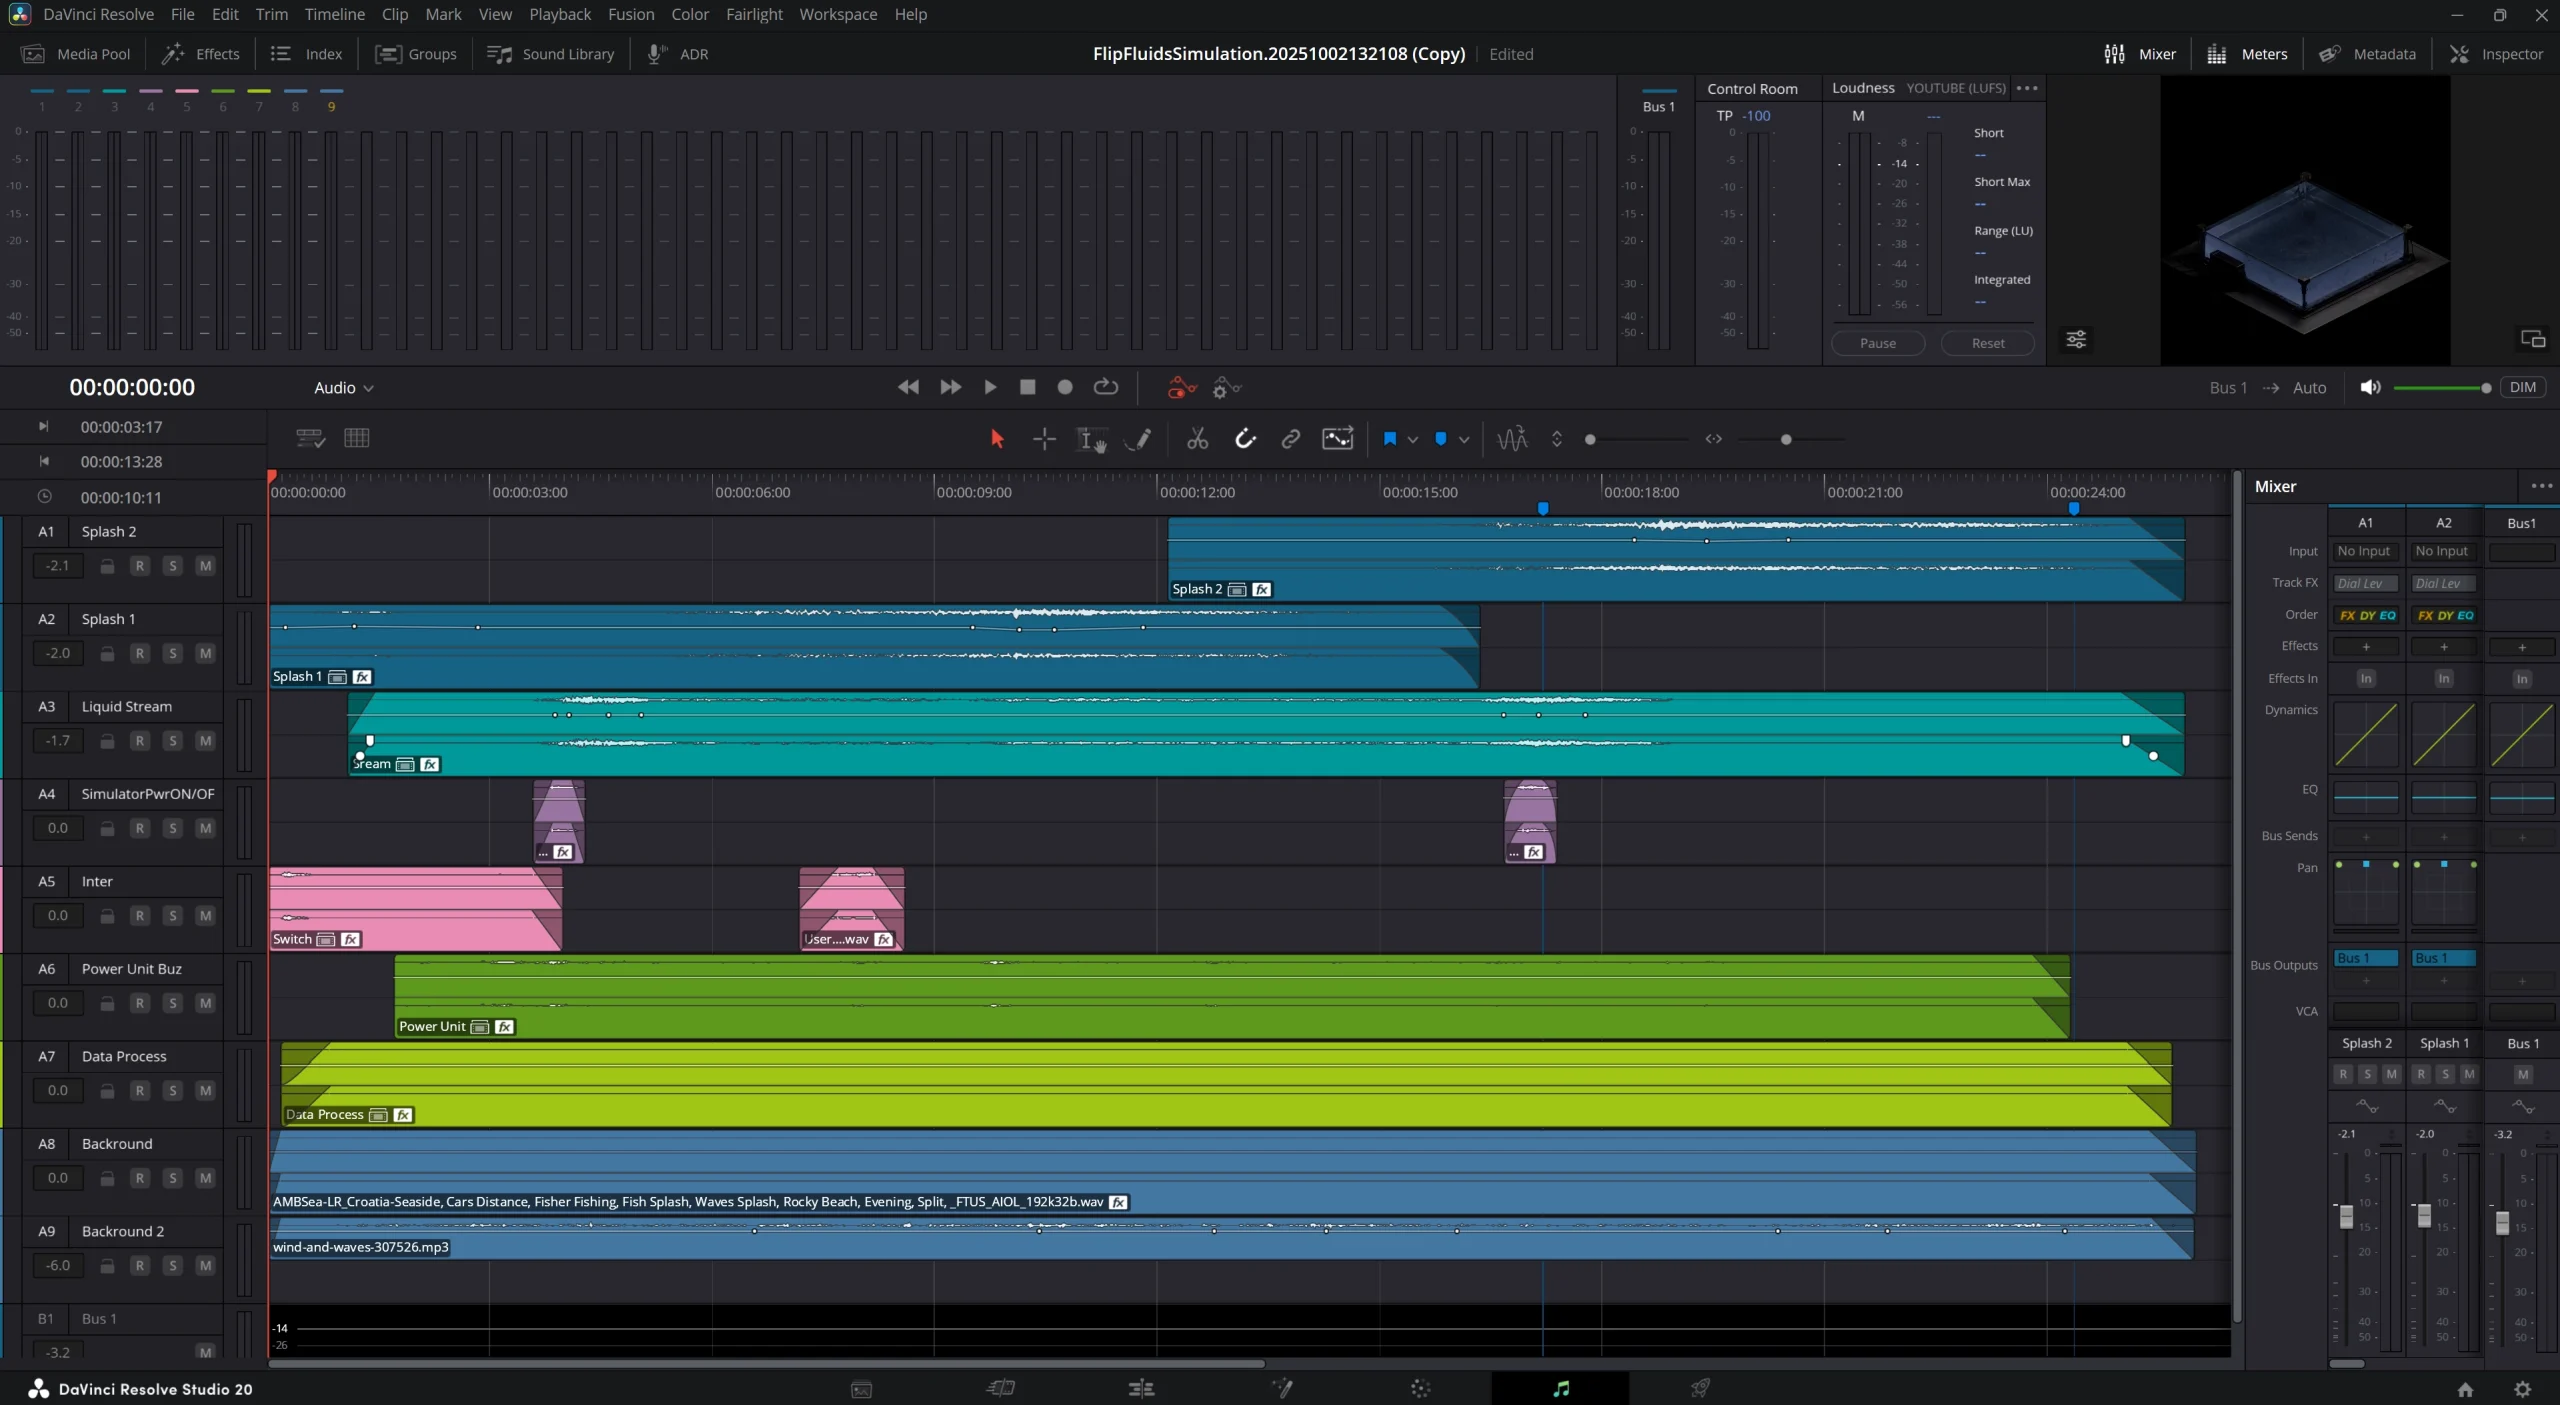
To complete the presentation, I moved into Fairlight for audio post‑production. I layered different sounds of water splashes and waves sourced from sound libraries, carefully mixing them to match the timing and intensity of the fluid simulation. Reverbs and filters were added to give the audio a sense of space and depth, making the environment feel more immersive.
Once the layers were balanced, I leveled the entire mix to meet YouTube loudness standards, ensuring consistent playback across devices. After thorough testing of sync, dynamics, and overall clarity, the final step was exporting the animation with both visuals and sound fully integrated.
How I Can Help with 3D Services
Dynamic 3D Generalist specializing in the creation of engaging product animations designed for maximum marketing effectiveness.
Proficient in Blender, Houdini, Davinci Resolve, and Photoshop, I focus on developing animations that truly “strike a chord” with viewers and “hit all the right buttons” to drive desired outcomes.
My foundation in marketing and SEO allows me to approach animation with a strategic eye, ensuring that the final product is not only visually appealing but also optimized for audience engagement and online success.
I am seeking opportunities to create impactful animations that bridge the gap between artistic excellence and marketing results.
